{ Printmaking Series #2 : Mark Making Tools } : Winter 2021

In my last post, I talked about the different types of papers that one can use to pull prints. In this post, I will show you a small amount of the tools that I use to create the prints seen here.

In each photo, I will explain the tools that you see and how to find them.

Handmade Stamps Using Sticky Back Fun Foam, Garden Knee Pads and Reclaimed Cardboard

Handmade Stamps Using Sticky Back Fun Foam, Garden Knee Pads and Reclaimed Cardboard

These mark marking tools are some of my all time favorites! I use them my handmade stamps in my prints the most often because they are truly original tools and they are CHEAP to make. I raid the recycling bin to find corrugated cardboard (which is a great stamp within itself). I buy the gardening knee pads when they go on sale in late fall or (if you have to have them NOW), I find them in abundance at Big Lots. You can buy sheets of sticky back fun foam at your local craft store.

I do not have any sort of pattern that I go for when I create my stamps. I cut organically and hope for the best. One of the reasons I love creating stamps this way is because of the SIZE I can make my stamps. I pull prints from a 9 x 12” gel plate. That is a lot of landscape to cover! I start with a large base (such as the kneeling pads or cardboard) and I cut foam to create the stamps. In some cases, I have taken foam scraps from students and have created stamps from the leftovers.

**Please note: If you like pristine stamps, this process is not for you! The stamps with the knee pads as a base are washable, but the cardboard backed have a limited life span since you cannot wash them.

Chopsticks, Pottery Tools, Cola Pens and Paintbrush Handles

Chopsticks, Pottery Tools, Cola Pens and Paintbrush Handles

If you like using your handwriting as a. mark making tools, these are for you! Chop sticks, skewers, pottery tools that I borrowed from my daughter (that are now mine) and some other tools that I do not have names for but use for writing. Printmaking is an unusual way to document your life. If you like to keep a daily record of your life, consider using handwriting in your prints.

Dollar Store Finds: Lego Plate, Altered Pool Noodle, Child’s Toy Block and Sponge Rollers

Dollar Store Finds: Lego Plate, Altered Pool Noodle, Child’s Toy Block and Sponge Rollers

The Dollar Store is a great place to hunt for printmaking tools! Aim for the toy and craft sections to find the best tools. Dollar Store finds are as much fun to hunt for as the thrift store, organizing the house or raiding your child’s toy box. Once you train your brain to look at things laterally, there really is no limit as to where you can find a very cool printmaking tool.

Fabric Store Finds: Plastic Mesh Canvas

Fabric Store Finds: Plastic Mesh Canvas

These plastic mesh canvases make their way into my art in many ways. I cut and alter them to get different looks when I print. These canvases come in many different shapes and sizes. I find them at my local fabric store near the yarn section. Plastic mesh canvases are not only great mark making tool, they make great stamps as well. This will add depth to your prints as you become more proficient in your printmaking process.

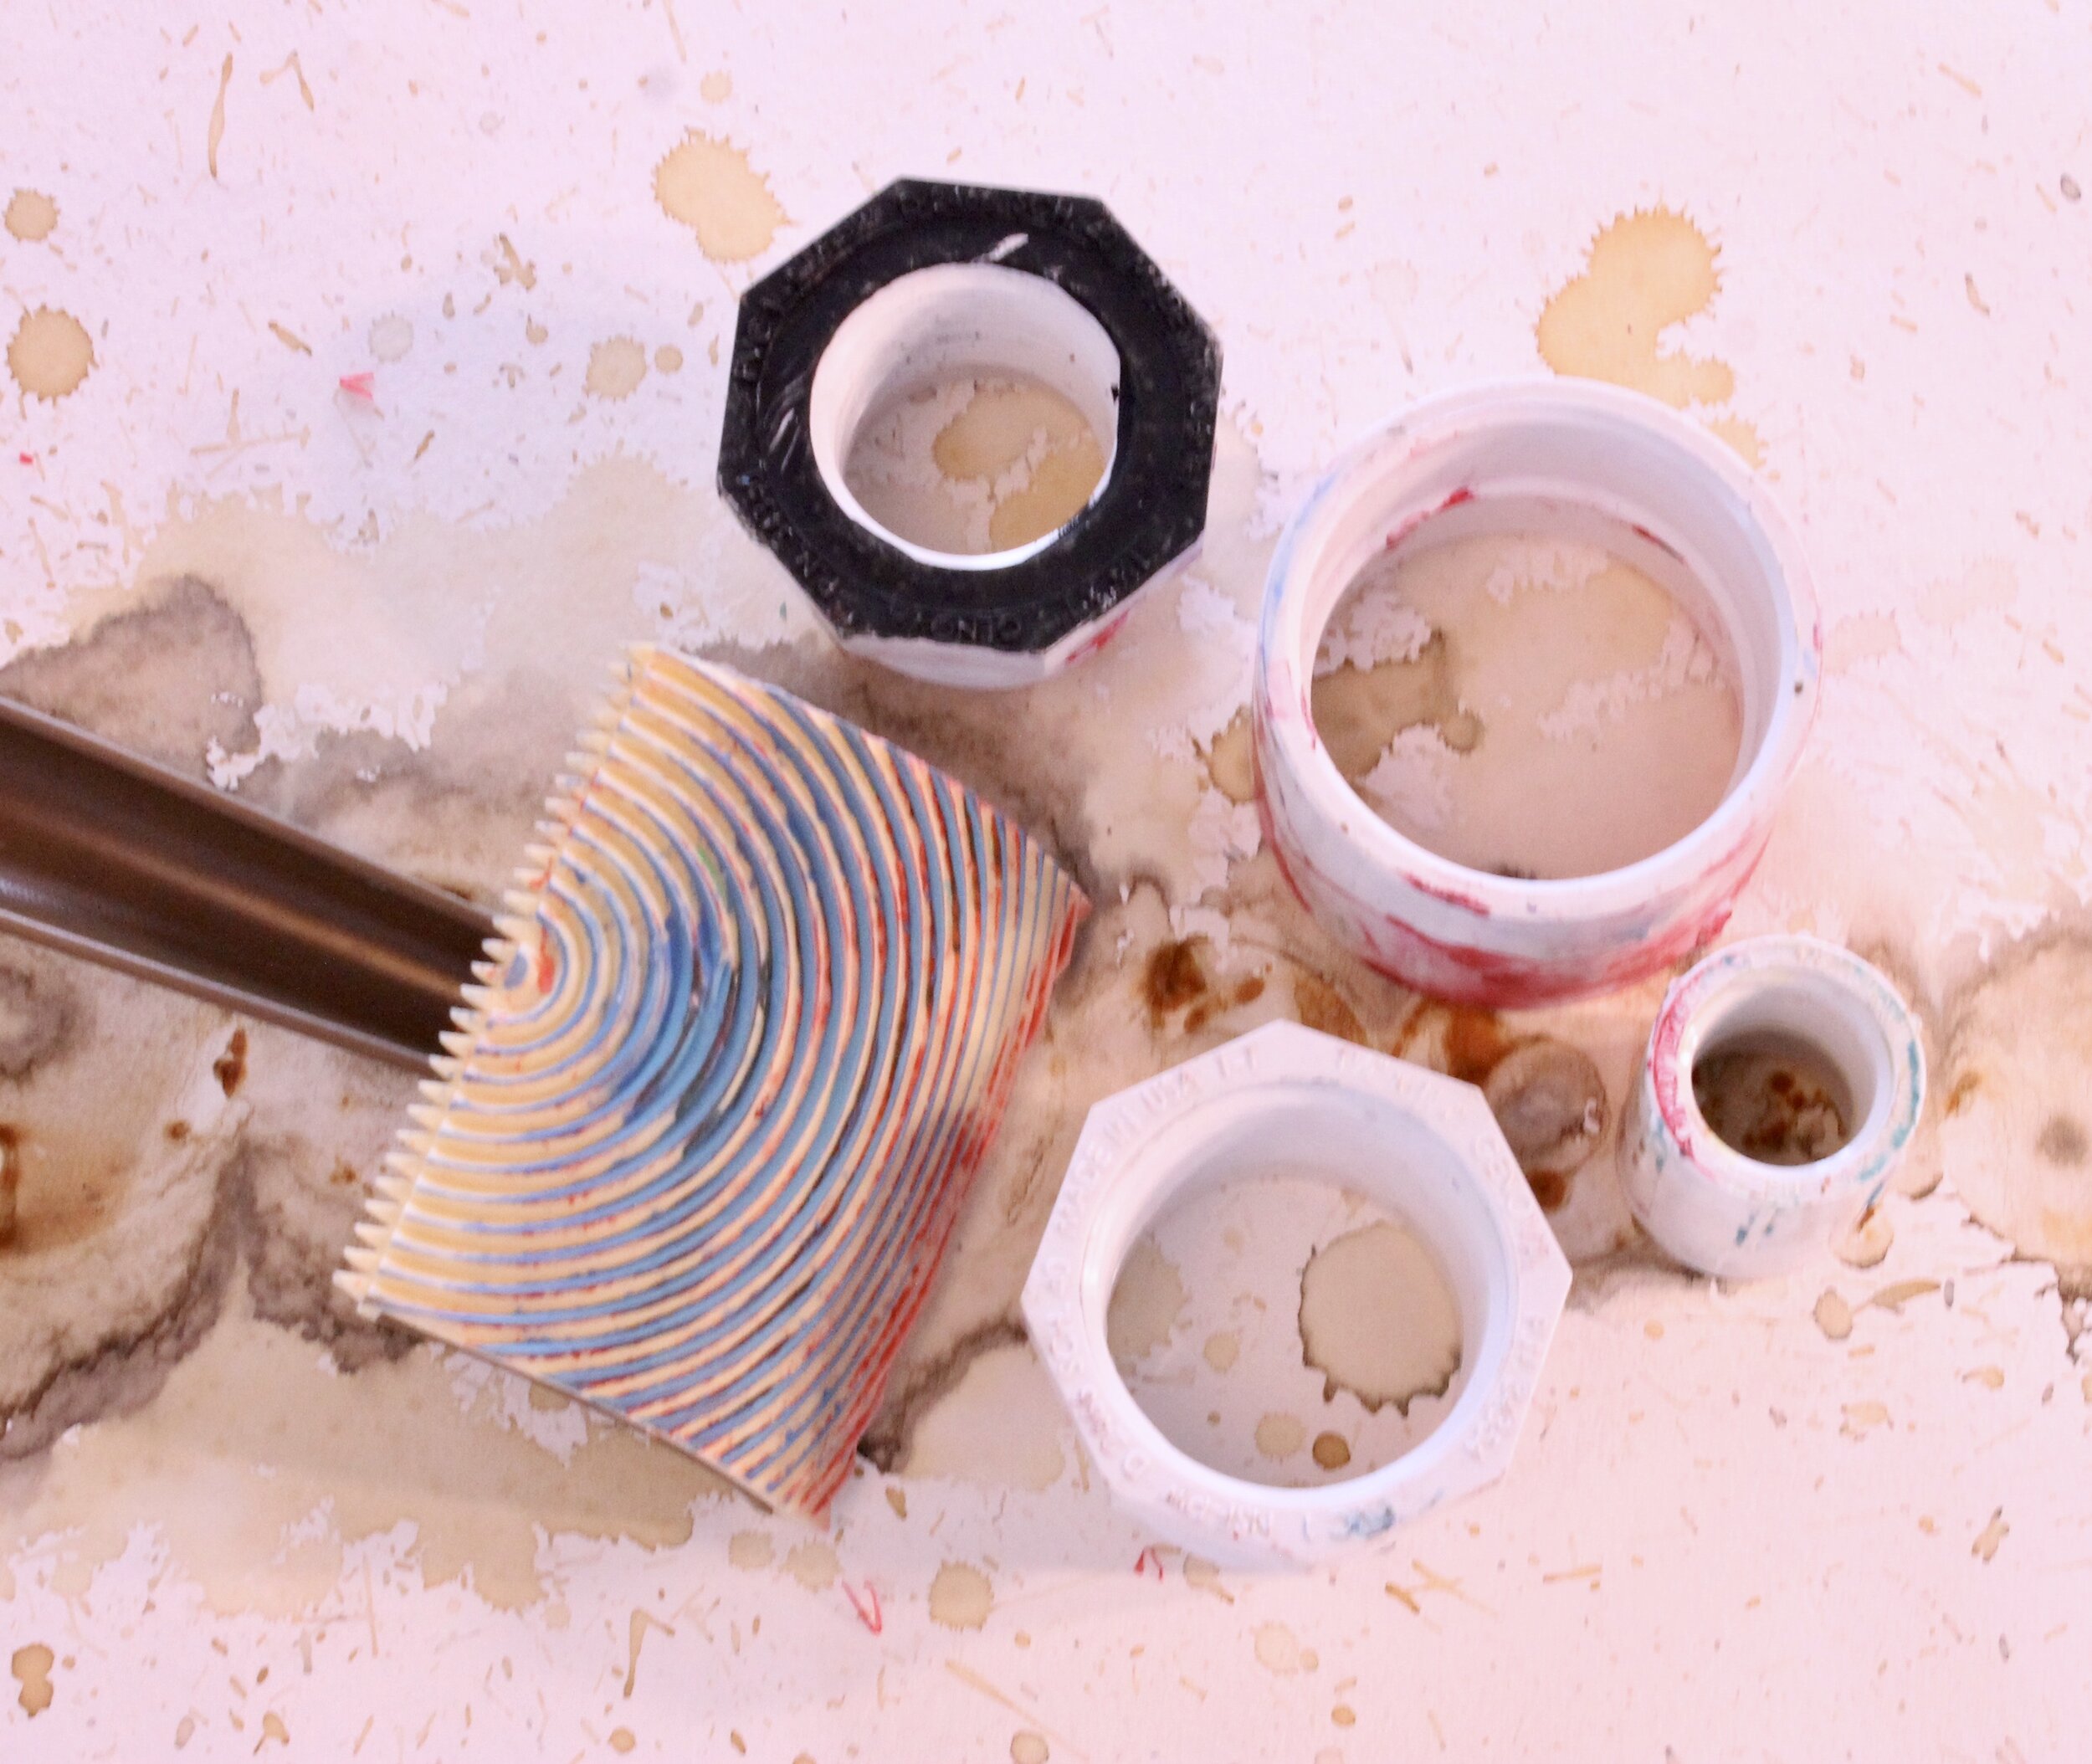
Hardware Store Finds: Plumbing Fittings and Texture Tool

Hardware Store Finds: Plumbing Fittings and Texture Tool

The hardware store is an unlikely place to find printmaking tools but it is a gold mine! One of the best reasons to shop at the hardware store for art supplies is the price. The Plumbing section is one of my favorites. Plastic fittings cost less than a dollar and there are loads of shapes and sizes to choose from when it comes to printmaking. And, even better, you can wash these after you are done playing to extend the life of your tools.

The Texture Tool is super fun to play around with on your plate. Try using a push/pull method while making a print. It gives the look of a faux wood finish that will add visual interest to your collage papers.

Did you take an Artist Date to the local thrift or dollar store and find some fun and funky papers to start your printmaking paper journey? Did you manage to locate a sweet score in an unlikely place?

Now its time to start harvesting your mark making tools. Take a stroll around your house…what kind of unique tools can you find that you already own?

In next week’s post, I will talk about the types of paint and the tools I use to apply color that I use when printing. Do you want to check out my handmade collage paper stash? See what kind of effect each tool provides when pulling a print?

{ Artist Book : Green Grass & High Tides } : Winter 2021 //

Artist Books are some of my absolute favorite books to work in and to develop as a Book & Paper Artist. With so many found, handprinted and gel printed papers that are way too beautiful to throw away, Artist Books are the perfect solution to house funky collages and practice mark-making and hand lettering.

Artist Books take me YEARS to complete. As I loose interest or motivation in a particular book, I put it away and wait for inspiration to return. This way I have lots of techniques to choose from as my skills develop and I can watch my progress as an Artist over the years. The collages that you see now are not what the final collage will look when completed.

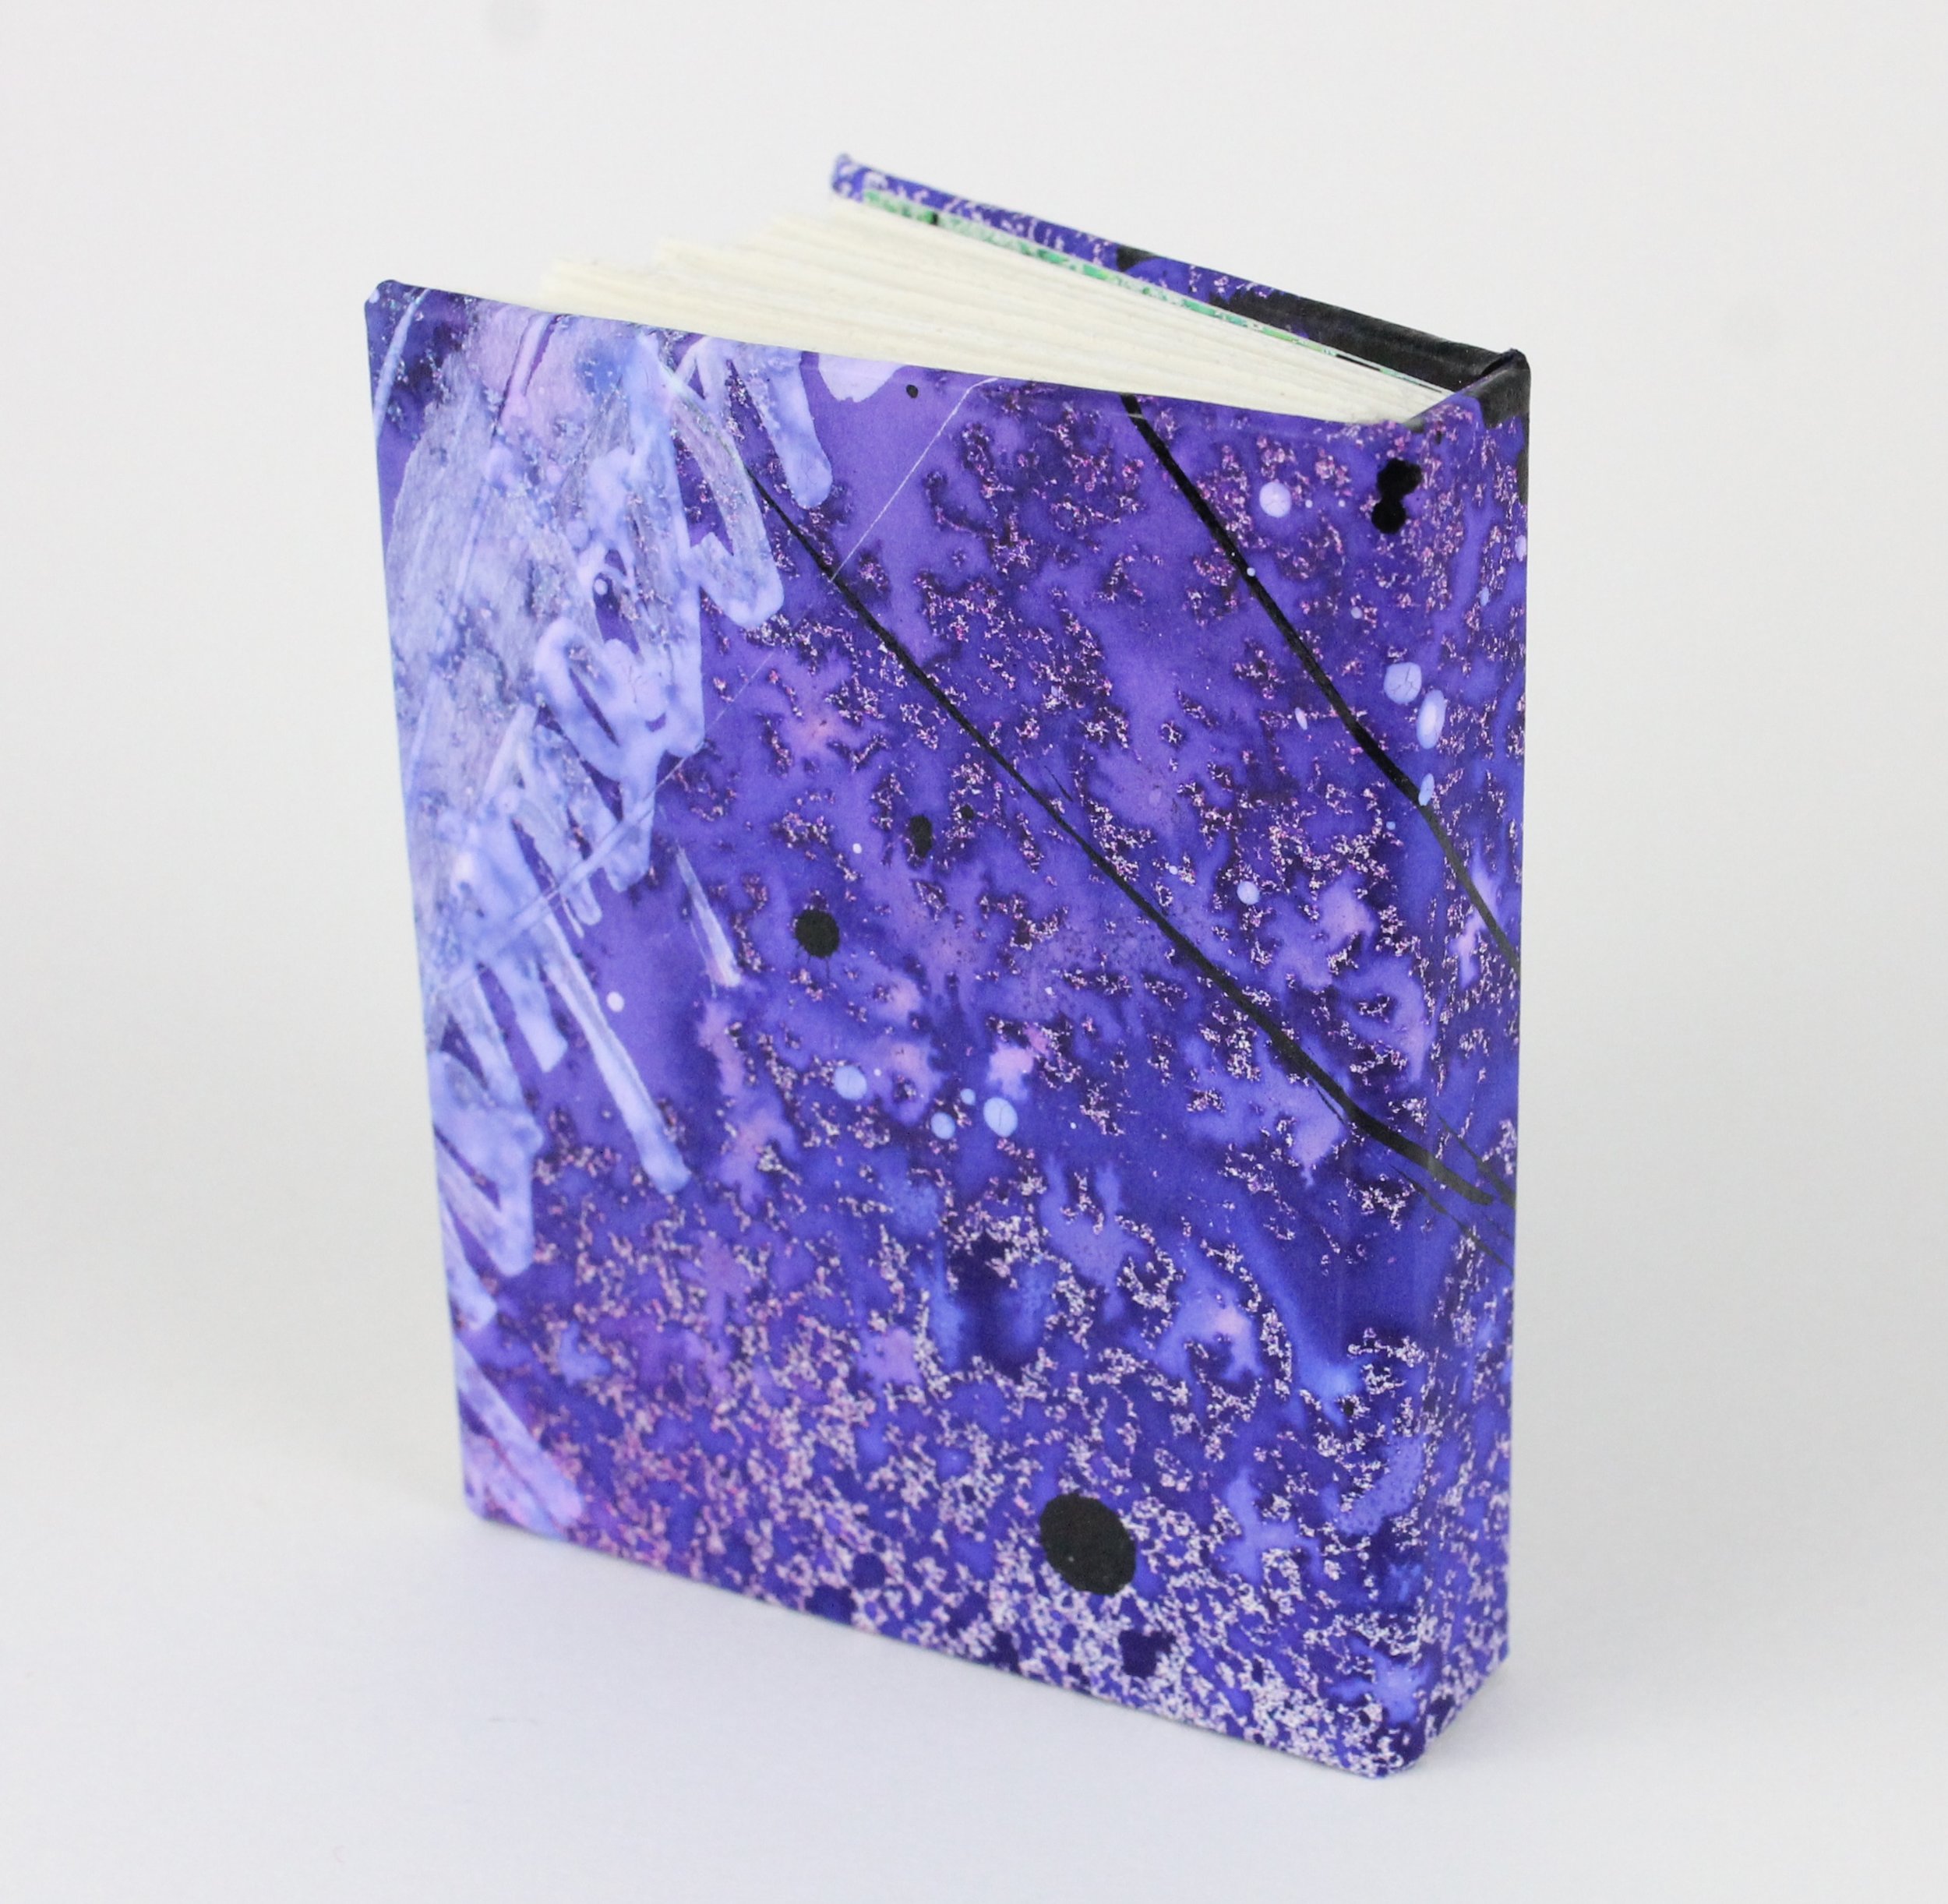
This Artist Book below is 4.5 x 8 x 1” using Canson Watercolor paper. There are (5) signatures bound together using a coptic stitch. In each of the pictures below, I describe the materials I use to create the collages that you see.

The cover of this book was created using a brown grocery bag. The hand lettering was applied using black walnut ink and a handmade cola pen. Collage papers include spray ink (my favorite are Dylusions!), handprinted papers using acrylics and handmad…

The cover of this book was created using a brown grocery bag. The hand lettering was applied using black walnut ink and a handmade cola pen. Collage papers include spray ink (my favorite are Dylusions!), handprinted papers using acrylics and handmade stamps and the black fern prints with a bleach discharge. The back cover is eco-printed on reclaimed wool.

This spread includes found papers, reclaimed paint chip, one of those beautiful gel printed paper scrap, scrapbook paper and hand lettering. I practice hand lettering as often as possible. Artist Books are a great place to work on that particular sk…

This spread includes found papers, reclaimed paint chip, one of those beautiful gel printed paper scrap, scrapbook paper and hand lettering. I practice hand lettering as often as possible. Artist Books are a great place to work on that particular skill!

This spread includes spray inks, mark-making using black India ink and another handprinted gel print on found paper.

This spread includes spray inks, mark-making using black India ink and another handprinted gel print on found paper.

This spread includes spray ink, mark-making using black india ink applied with a handmade cola pen and elementary handwriting paper.

This spread includes spray ink, mark-making using black india ink applied with a handmade cola pen and elementary handwriting paper.

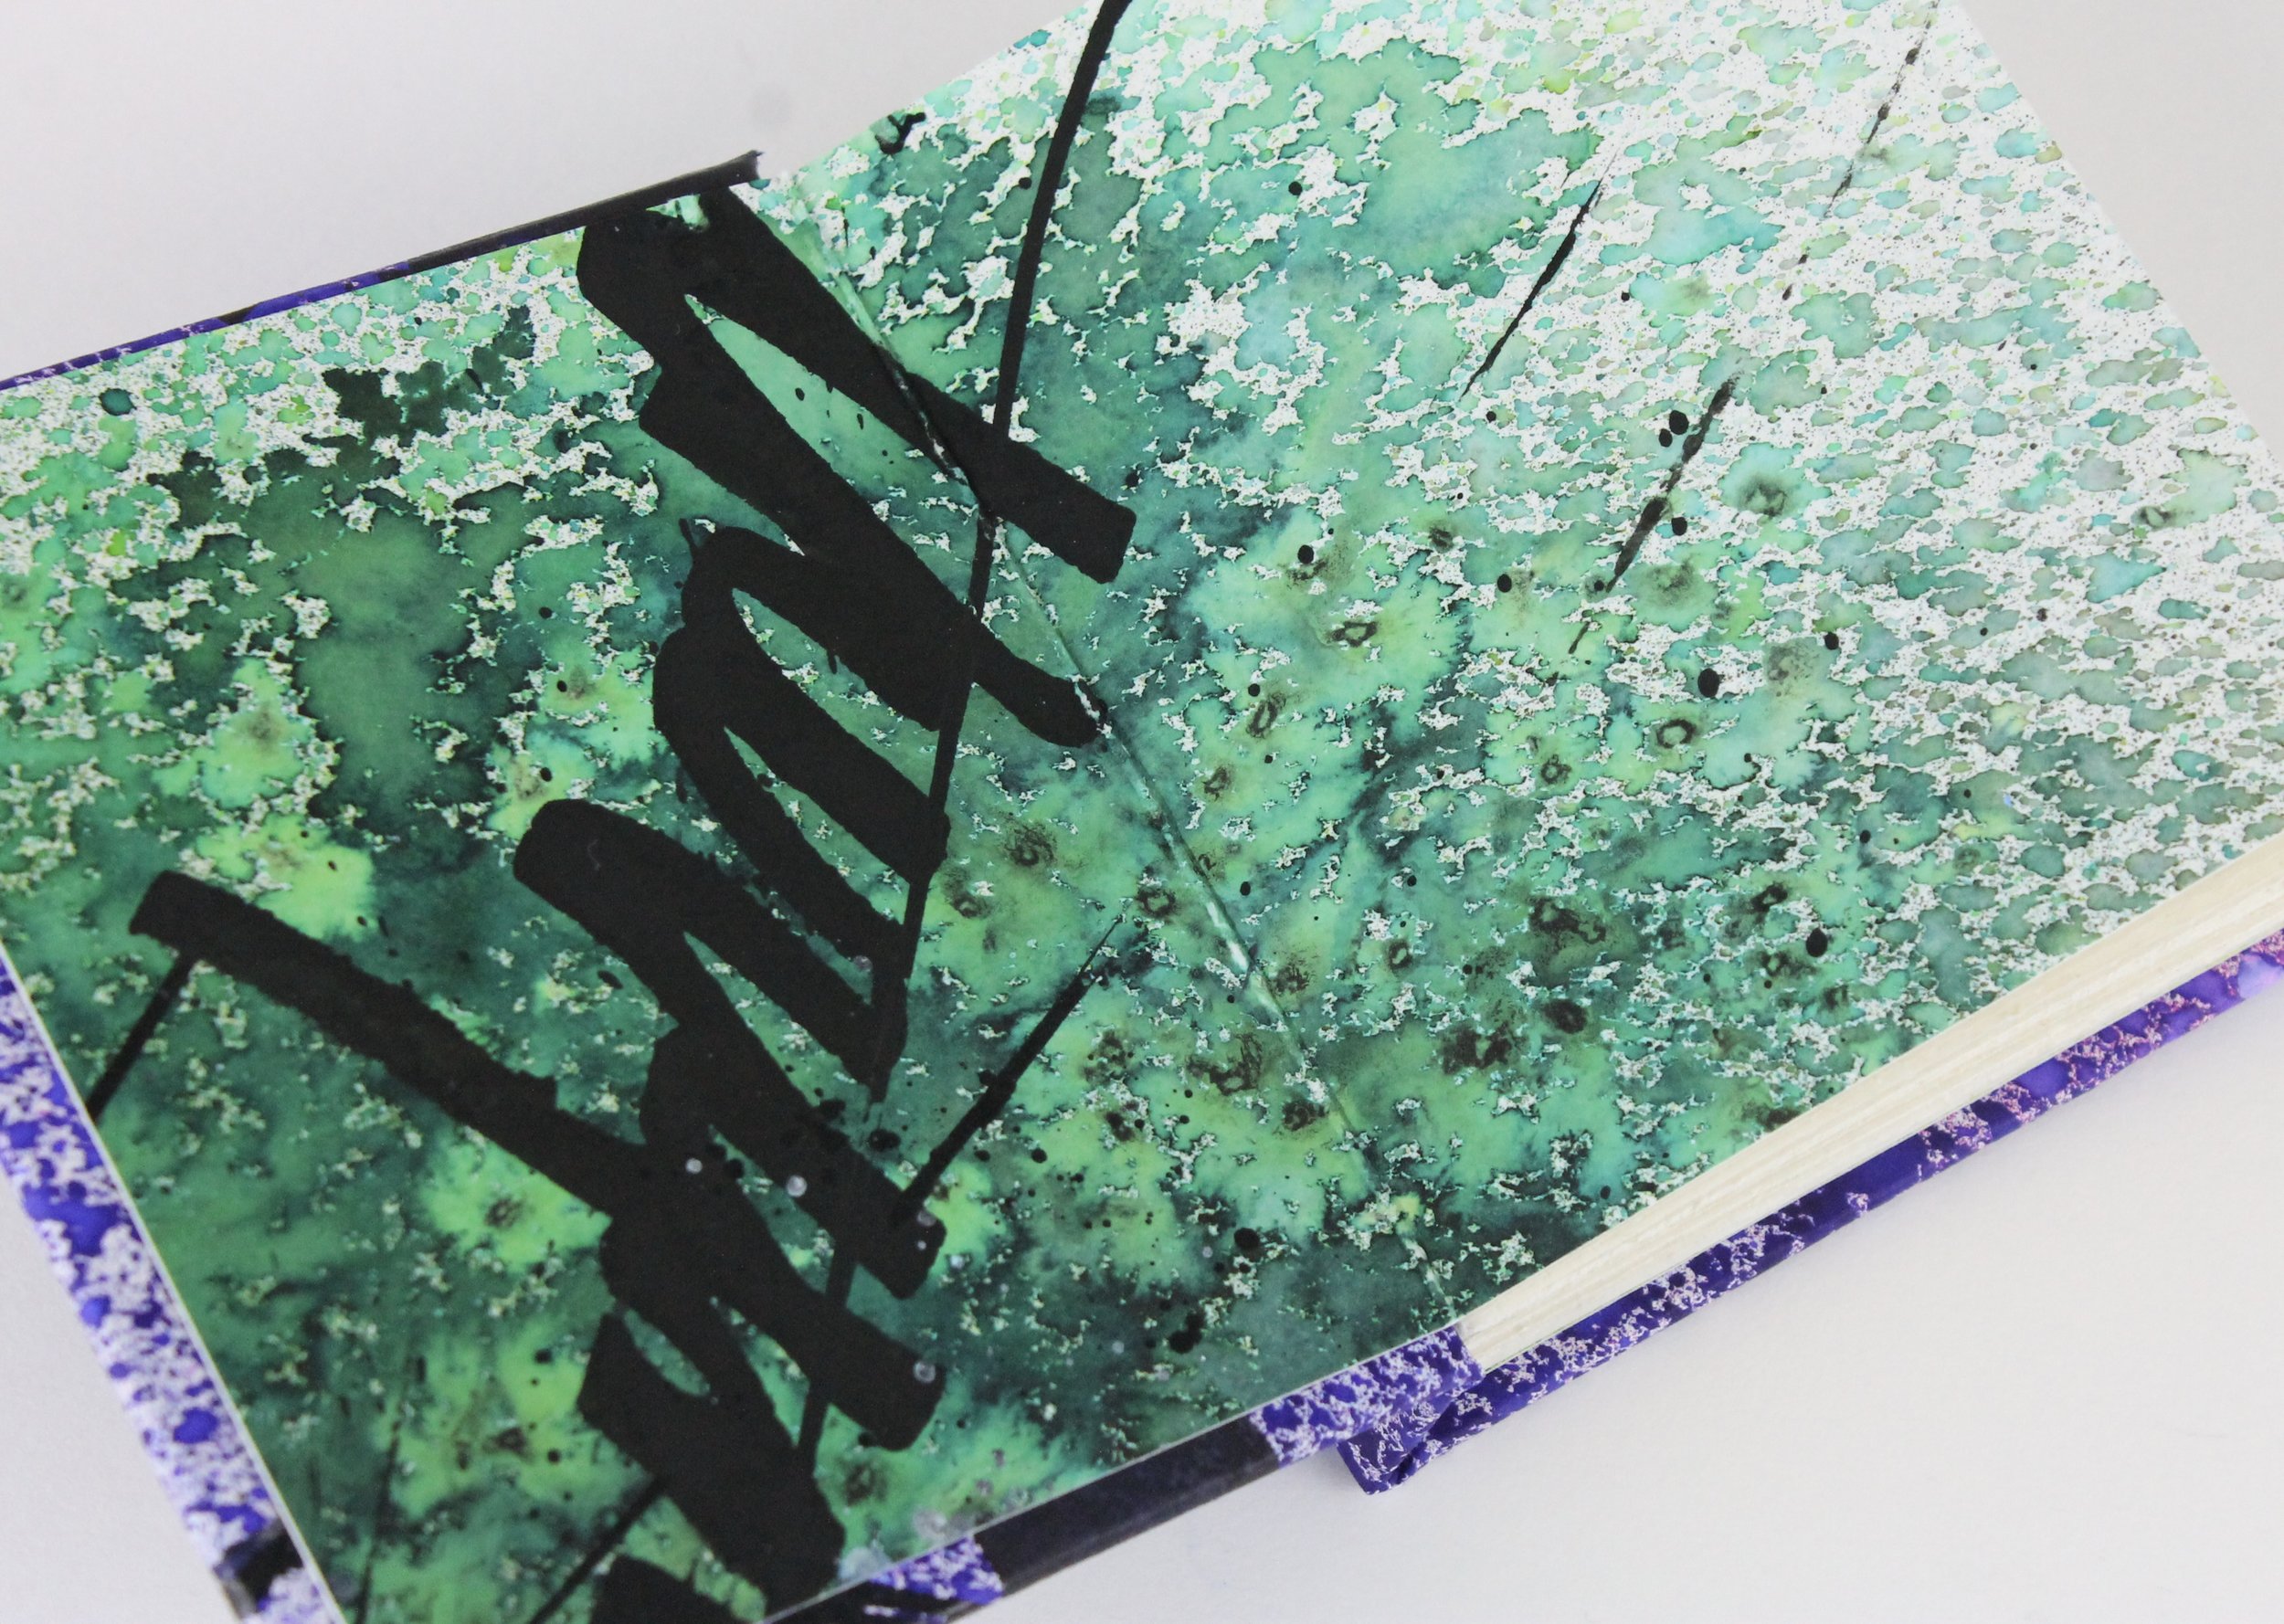
This spread includes spray ink background, watercolor (wet on wet application), hand lettering using black walnut ink applied using a handmade cola pen, and various found papers

This spread includes spray ink background, watercolor (wet on wet application), hand lettering using black walnut ink applied using a handmade cola pen, and various found papers

How about you? Do you have books that you like to work in? How do you like to work in them? And if you are looking for the next installment of my Printmaking Series…do not worry! It is coming up in my next post. I got excited working in my Artist Books and wanted to share!

{ Handmade Book Challenge } // January 2019

I have been making handmade books for over 10 years. I tend to stick books I am familiar with making so that I can work on my craftsmanship while creating enough product to sell at various stores, galleries and shows. While teaching a class on bookmaking at the local university here in Blacksburg, VA, a friend of mine handed me a book on how to make books. As we combed through the book together, I realized that there were so many books that I had yet to discover! I decided to challenge myself to work from one end of the ‘How To’ to the other. This month, I created the 5 Hole Pamphlet (with inside folder), 5 Hole Pamphlet Do-Si-Do and the Basic Codex.

5 Hole Pamphlet : Front View

5 Hole Pamphlet : Front View

5 Hole Pamphlet : Spine View

5 Hole Pamphlet : Spine View

5 Hole Pamphlet : Inside View with Folder

5 Hole Pamphlet : Inside View with Folder

5 Hole Pamphlet Do-Si-Do : Front View

5 Hole Pamphlet Do-Si-Do : Front View

5 Hole Pamphlet Do-Si-Do : Back View

5 Hole Pamphlet Do-Si-Do : Back View

5 Hole Pamphlet : Front Top View

5 Hole Pamphlet : Front Top View

5 Hole Pamphlet : Back Top View

5 Hole Pamphlet : Back Top View

Basic Codex : Front View

Basic Codex : Front View

Basic Codex : Spine View

Basic Codex : Spine View

Basic Codex : Back View

Basic Codex : Back View

Basic Codex : Endcover View

Basic Codex : Endcover View