{ Gelli Plate Prints : Exploration with Paper & Paint } : Winter 2021 //

prettyinpinkprint01_02012021

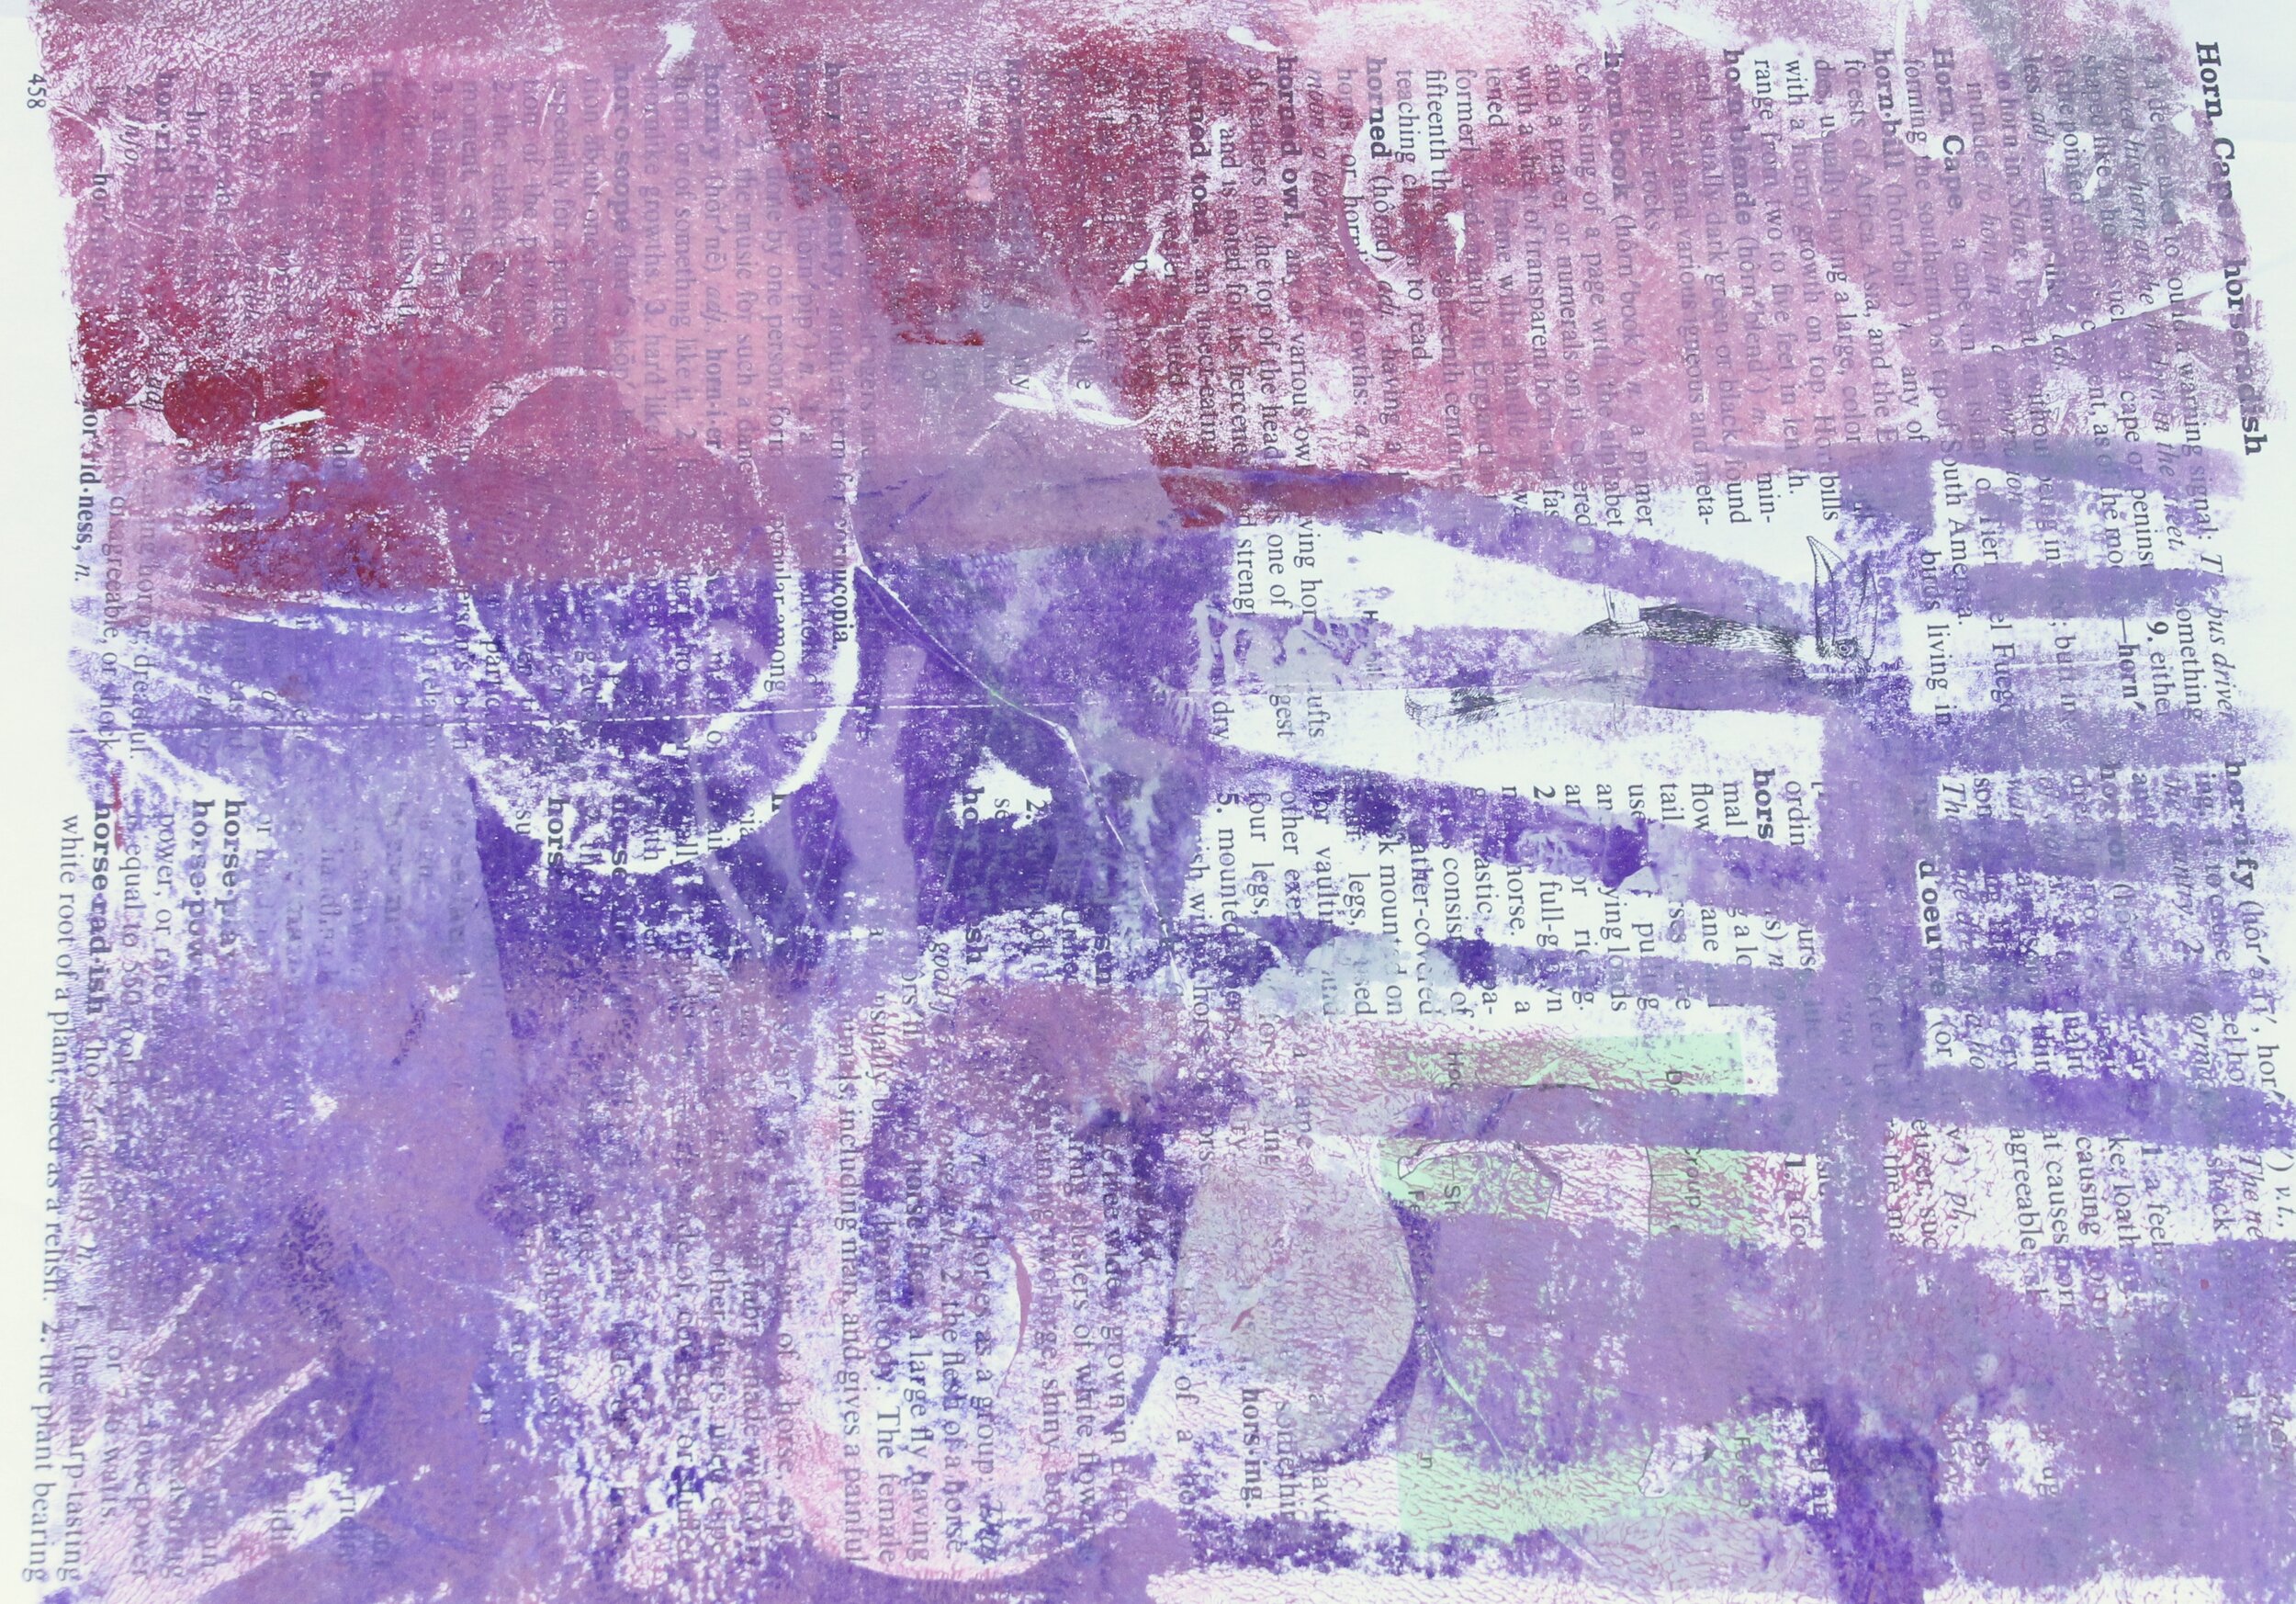
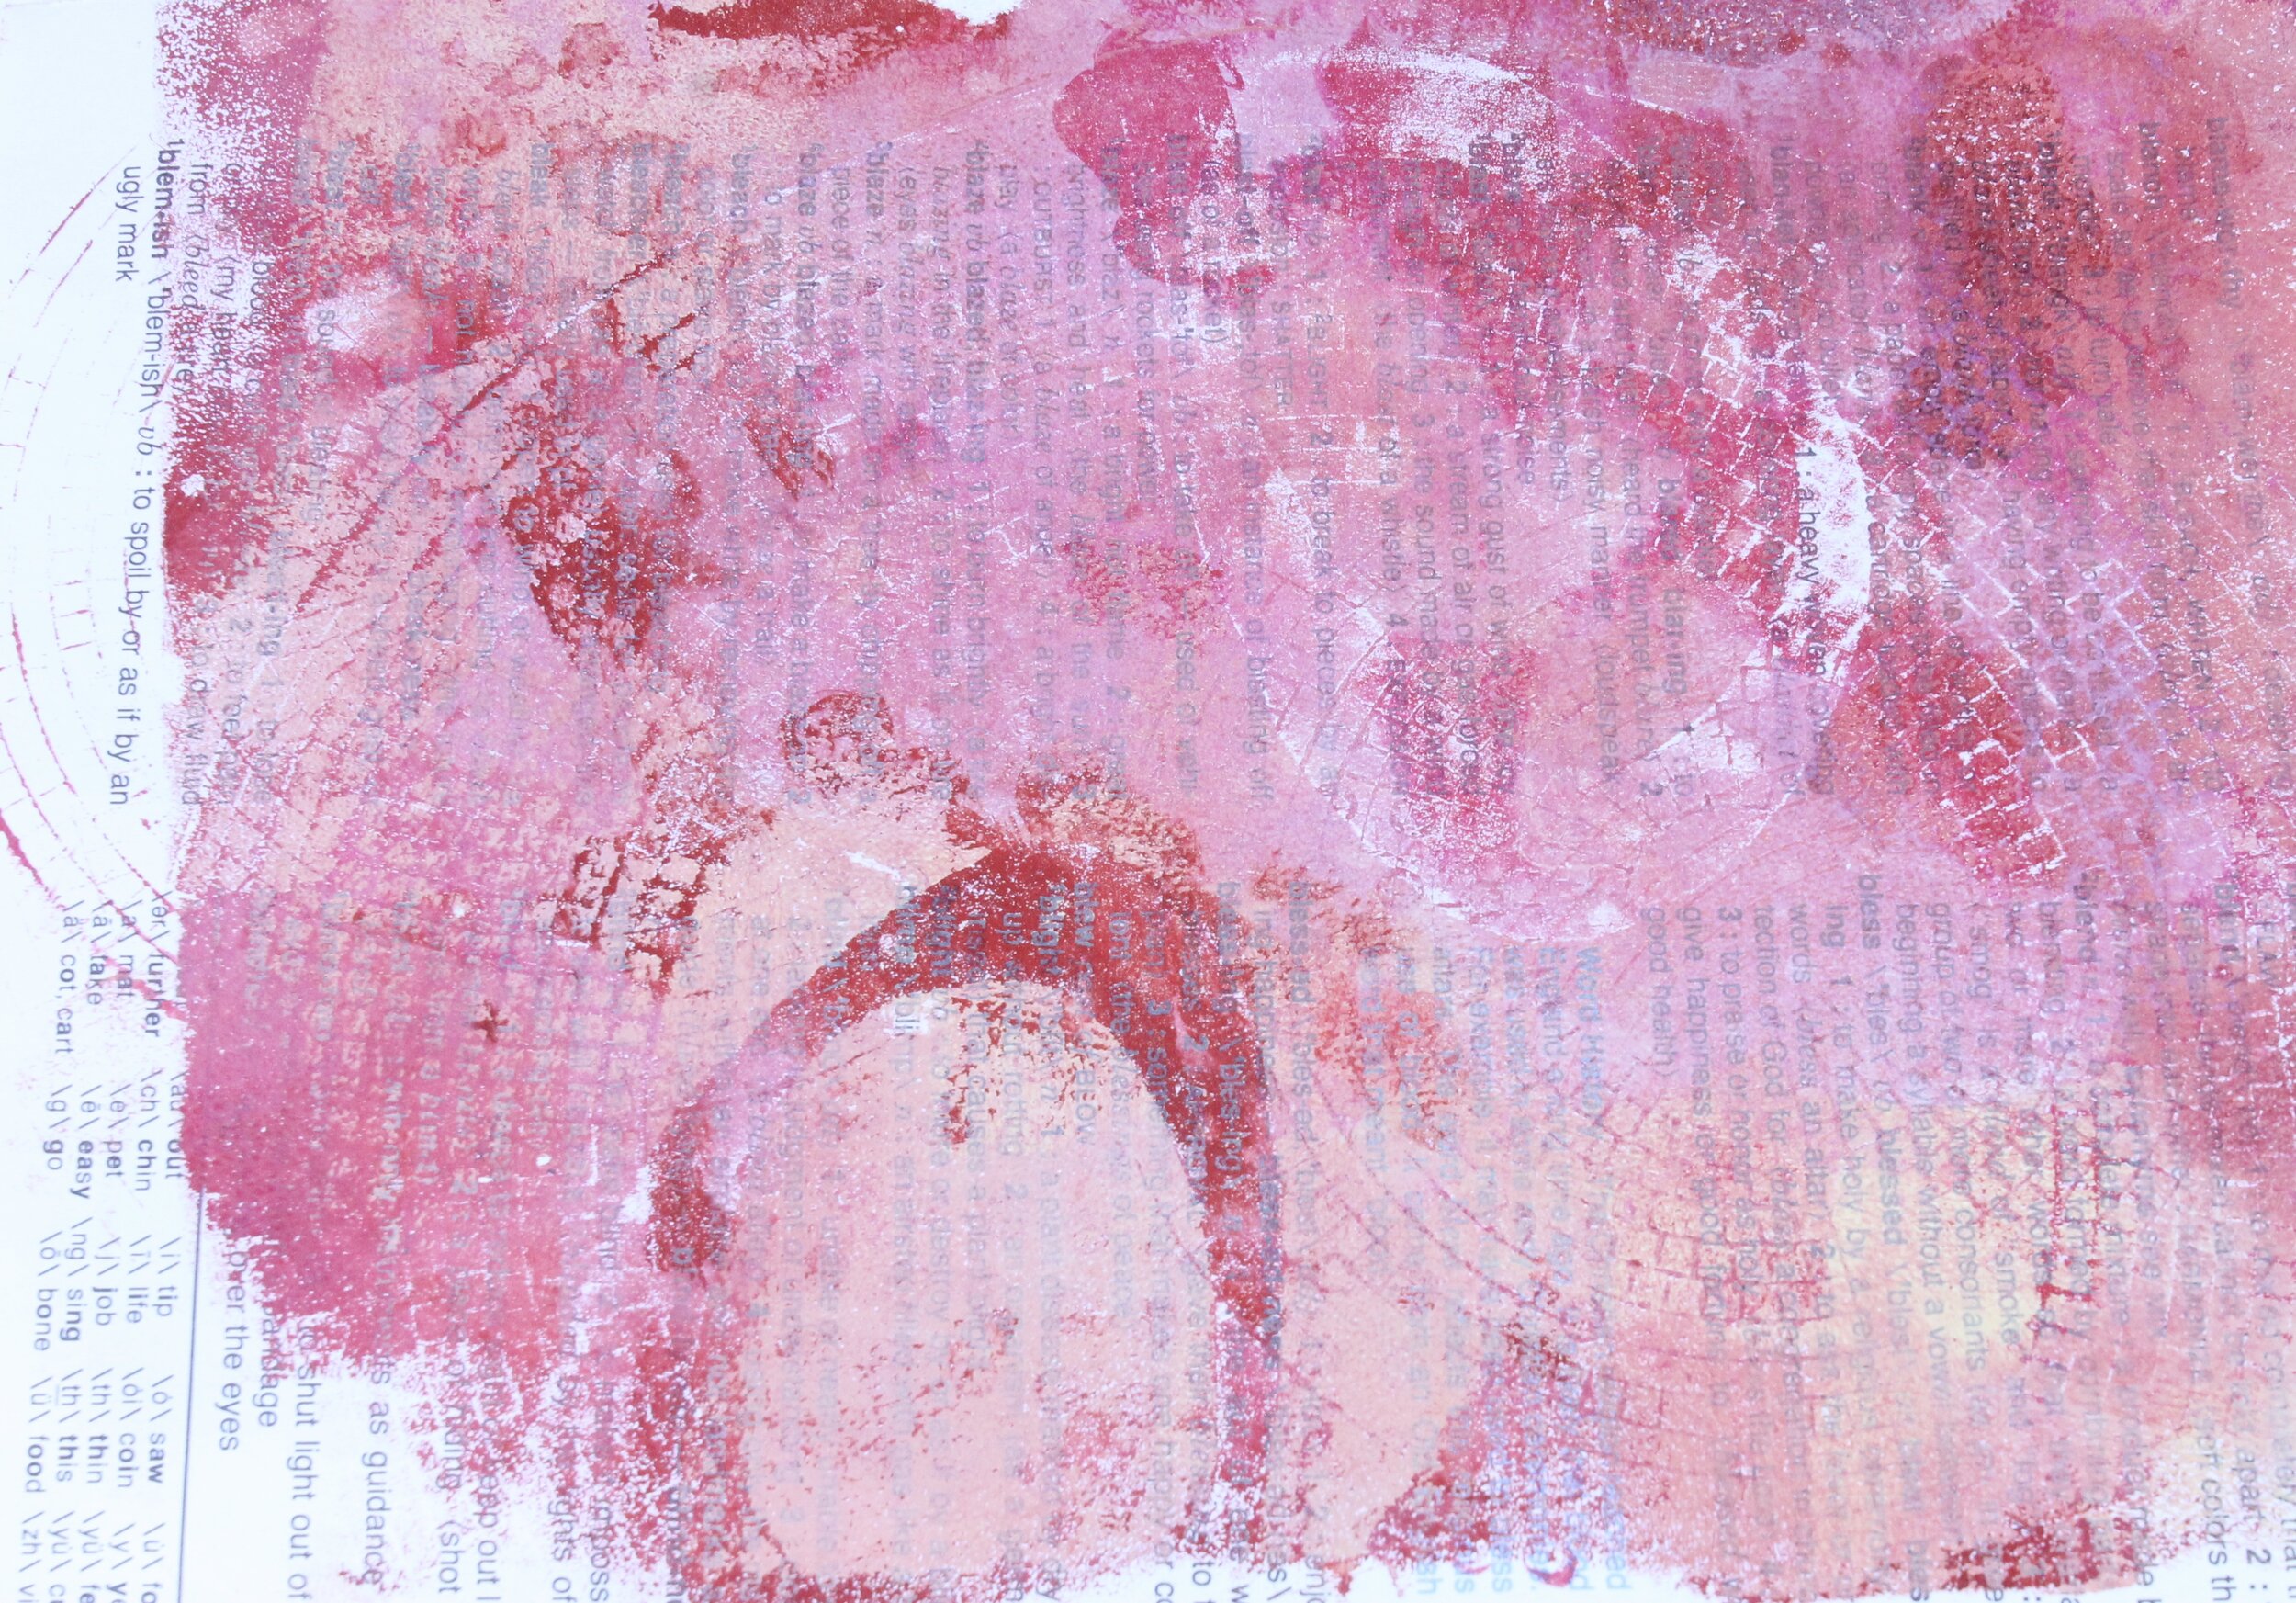
I have been greatly enjoying exploring printmaking on my gelli plate lately! As a book and paper artist, I have loads of reclaimed books that I have found over the years or have been gifted to me by family and friends. Needless to say, I am never at a lack of material to pull prints!

pinkpurpleprint01_02012021

And despite spending A LOT more time at home, I have not been feeling inspired to create. As a creative person, not actively creating is NOT an option for me. So I have been wiping the dust off my creative muscle and hitting the studio with a sense of play—making art for the sake of creating rather than obsessing over the end product.

graypurpleprint01_2012021

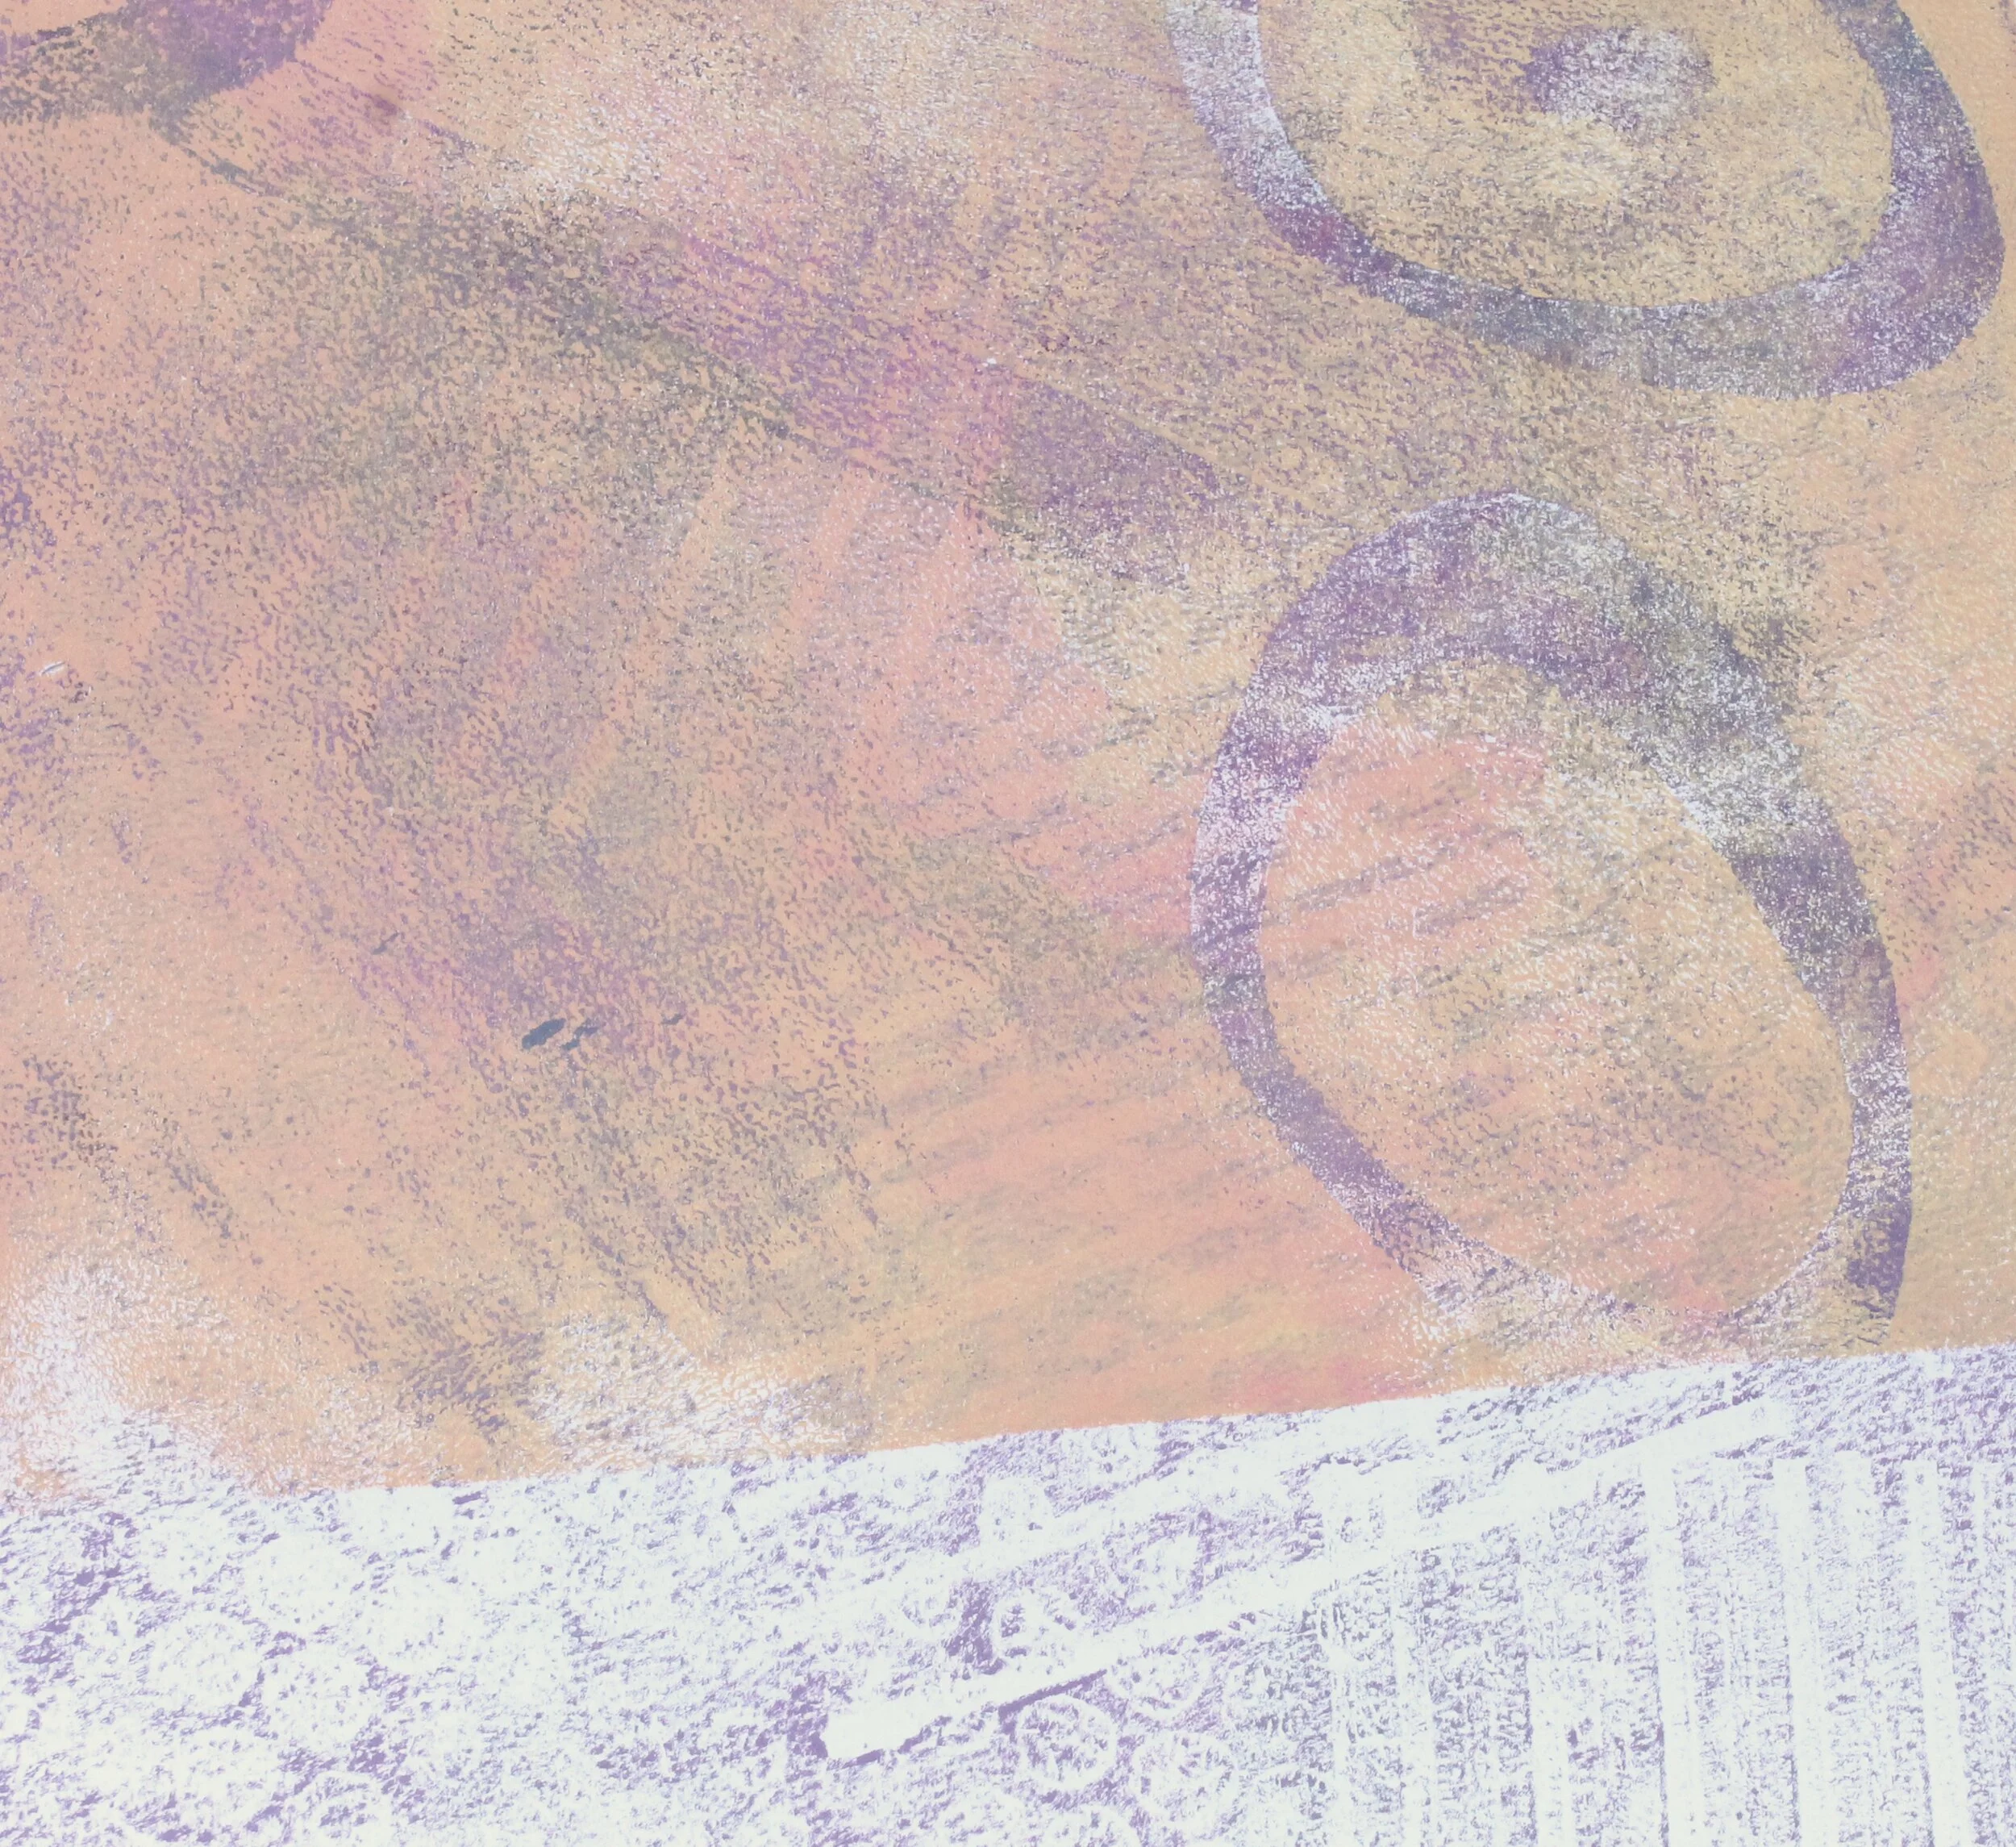
With my printmaking process, my absolutely favorite mark-making tools are simple objects found around the home (such as thread spools, skewers, bubble wrap, etc.) or items that I make using fun foam, toothpicks and corrugated cardboard. Add paper from vintage books and you have endless possibilities for one-of-a-kind collage papers for artist books, abstract panels and more!

peachpurpleprint01_02012021

In the above prints, I used several types of processes to create the grungy effect. First…and this is the most important thing to remember, LAYERS. My best prints come from printing adding layer after layer of paint. The bonus of using acrylic paints when printing is that you can keep adding layer after layer of paint until you achieve the result you desire.

yellowredprint01_02012021

Are you interested in learning how to achieve these effects? Seeing the tools that I use? How to make them? Where to buy fun (and cheap!) mark-making tools?

Starting the week of February 8th-28th, I am going to share some of my favorite inside tips on making funky, grungy prints using reclaimed papers and handmade tools. Is there anything in particular that intrigues you about my creative process and want to know more about?

{ Designing Artist Books : Workshop in Review } : Floyd, VA //

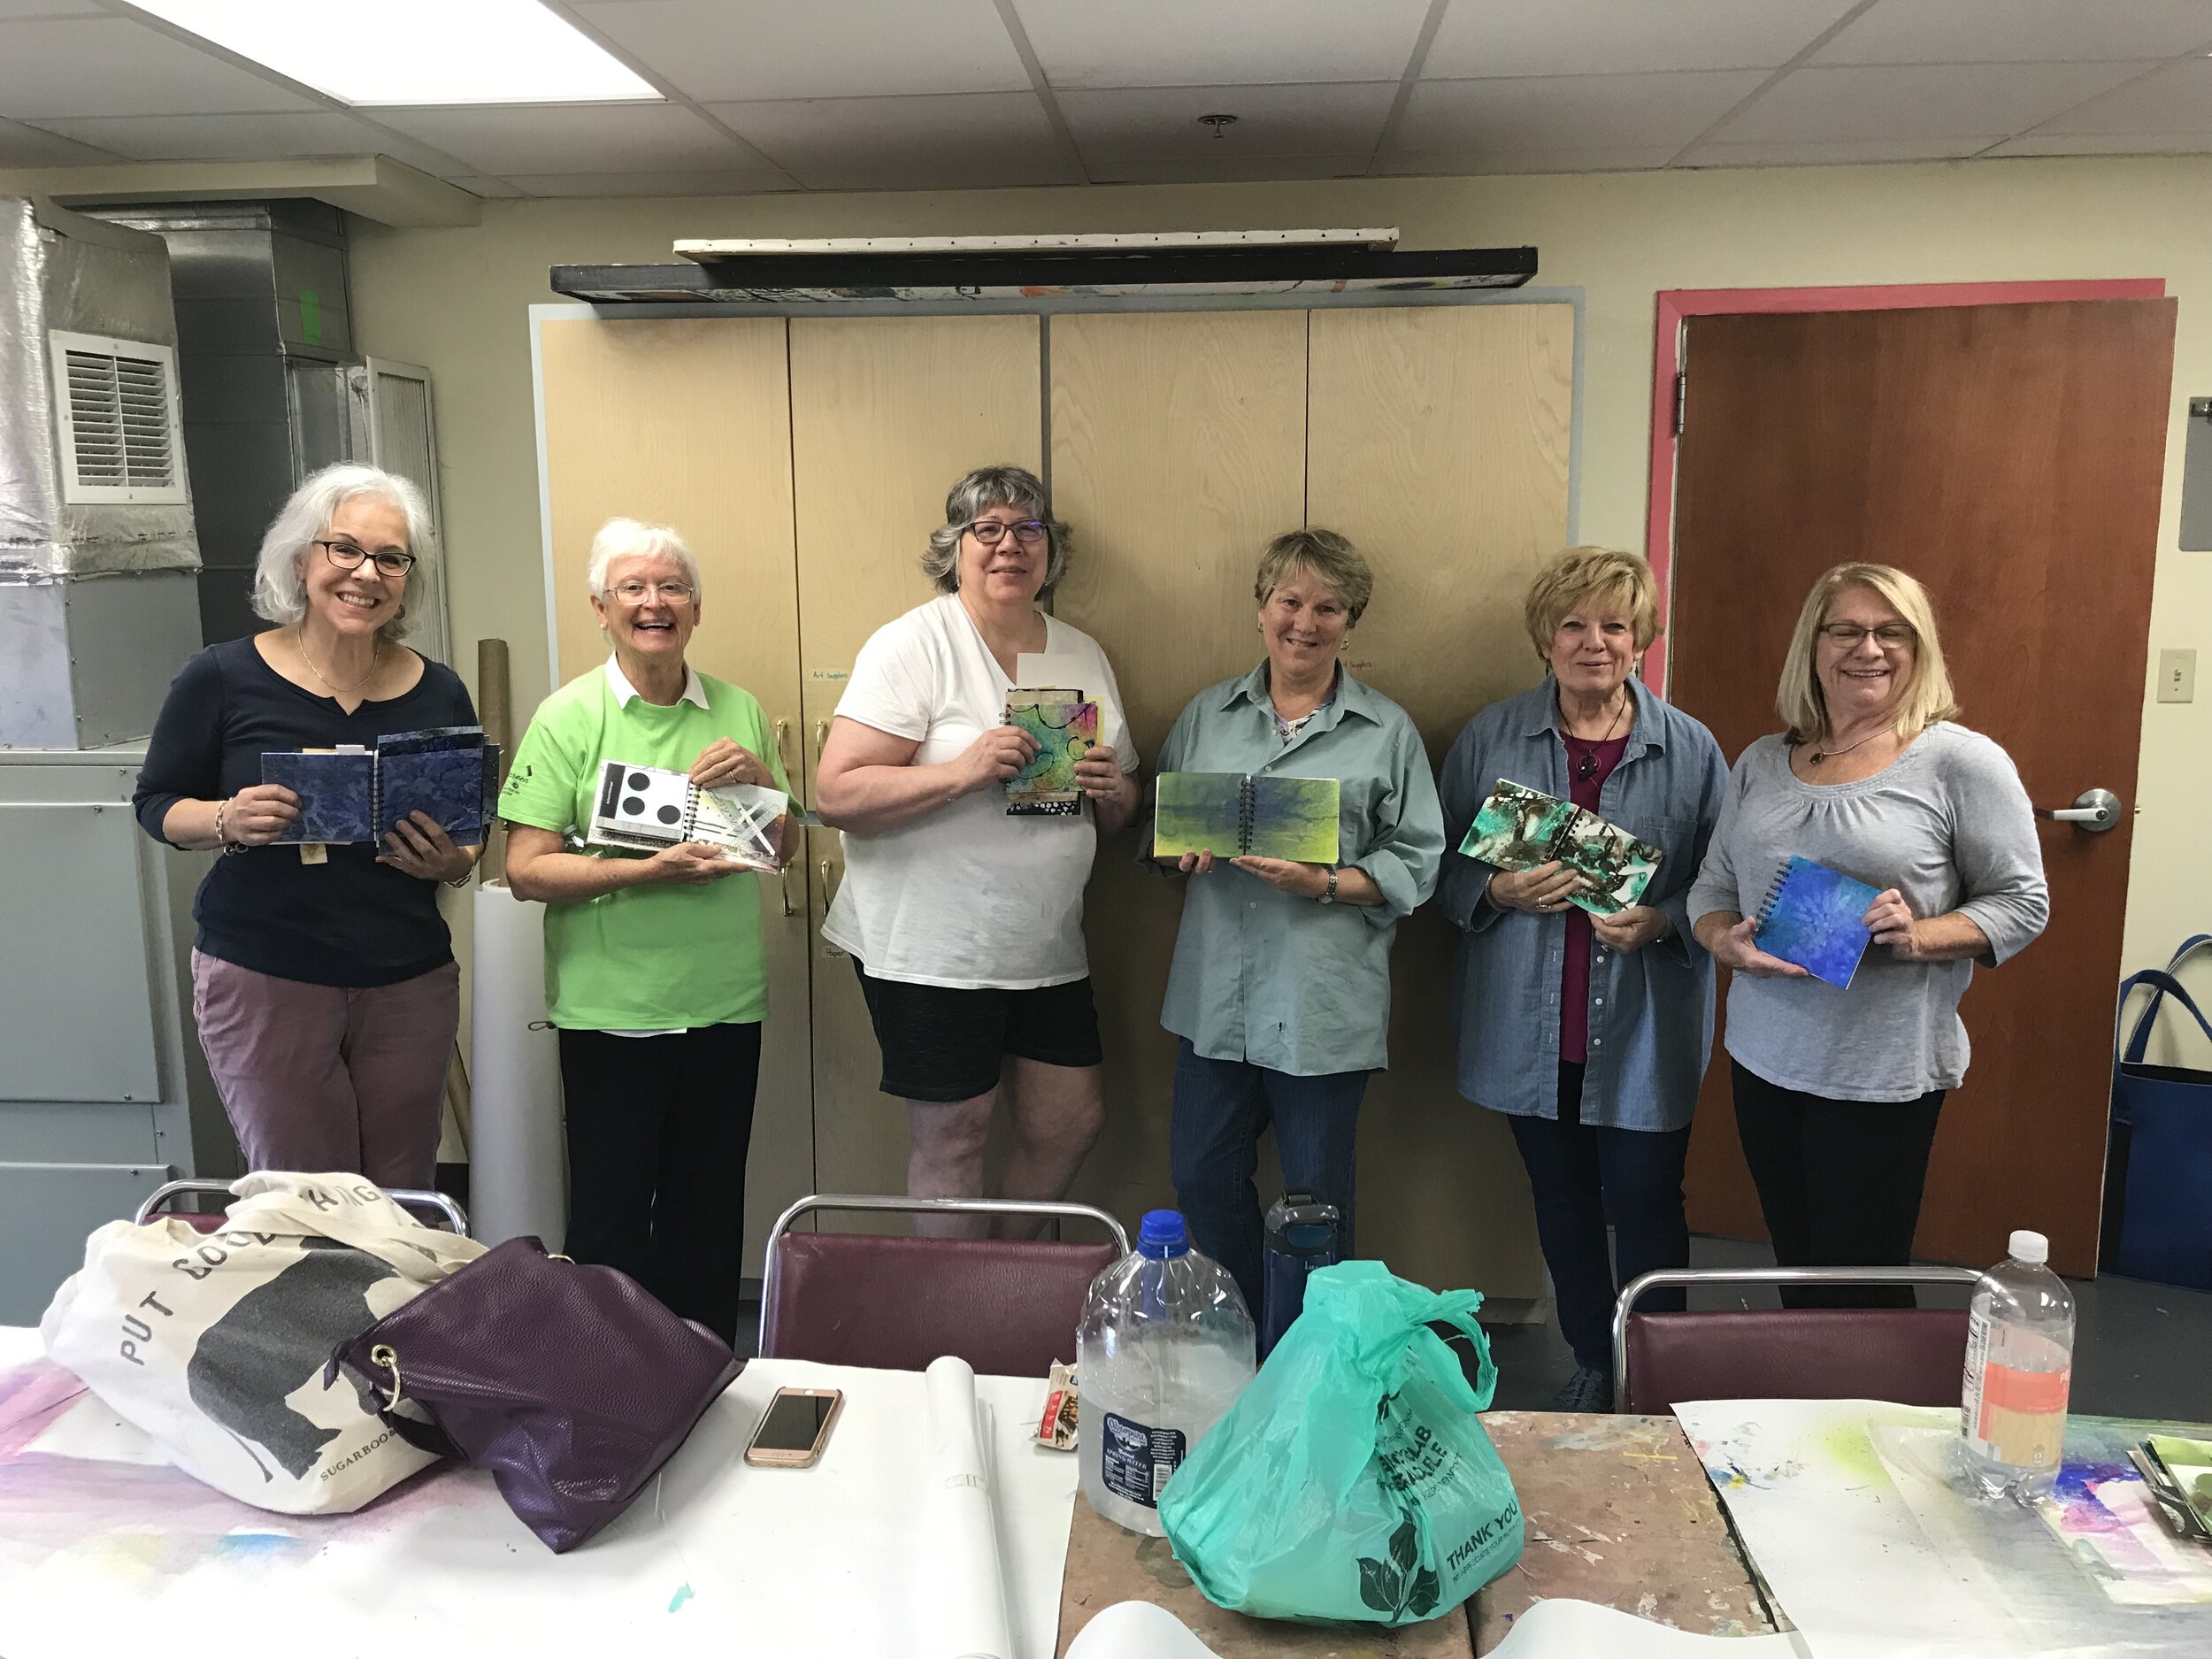
This past weekend, seven women gathered at the Floyd Center for the Arts for the Designing Artist Books workshop.

Group photo! All the amazing ladies that designed Artist Books with me this weekend!

Group photo! All the amazing ladies that designed Artist Books with me this weekend!

Plus Grace, who had to leave early for the opera!

Plus Grace, who had to leave early for the opera!

We explored many background paper techniques using wet-on-wet and dry processes. The end product was less important than the process. We learned to not judge what was made since the paper would be used as a piece and not as a whole. This can be a challenging concept for many people!

Using watercolors and rubbing alcohol to create unexpected results on paper

Using watercolors and rubbing alcohol to create unexpected results on paper

We made as many papers in 4 hours as we could. The participants could use any technique that they learned that day to make their cover paper.

MaryJo exploring art and science while creating her background papers

MaryJo exploring art and science while creating her background papers

Spray inks are always a huge success! Being highly pigmented make them very attractive to students of all ages.

Anne LOVES her ghost prints!

Anne LOVES her ghost prints!

Penny and Suzanne exploring spray inks…the possibilities are endless!

Penny and Suzanne exploring spray inks…the possibilities are endless!

Using everyday items found easily, on the cheap or around the home make pattern easy to create.

MaryJo using handmade stamps on black and Kraft cardstock paper

MaryJo using handmade stamps on black and Kraft cardstock paper

Our books are 6 x 6” while our papers are much larger. Participants cut down their papers to he desired size. This leaves them with loads of handprinted scrap paper to use as collage within their books.

Pat using scraps of her handprinted papers to collage her pages

Pat using scraps of her handprinted papers to collage her pages

We had an AMAZING time creating in community. The great thing about these books are that you can add, takeaway, make pages in any size, put int ages, envelopes, pockets and fold out pages. This is a book that is never done…making it organic and endless.

{ Mixed Media Printmaking : Gelli Plate Prints } : May 2019 //

While teaching my ‘Rust Printing + Mark Making’ workshop back in April, one of my student introduced me to Gelli Plate printing. I had been looking into the process for awhile and after checking out her Instagram feed, I was HOOKED. I came home that weekend and ordered myself several plates and did what most artists do when learning a new technique—I obsessively scoured Pinterest for visual inspiration and watched YouTube videos until my excitement led me to my studio.

I tried multiple techniques and was not happy with the results. I tried cheaper, more fluid acrylics. I tried heavier bodied acrylics. I tried spray inks. I made a MESS. I threw many prints into the recycling bin.

Then I got SICK. Every few years, seasonal allergies will kick my butt. This was one of those years. My throat was raw, I had a persistent and painful cough. I eventually lost my voice (which is fun when you teach art to young children). And the best part—I got several tick bites that became swollen and a rash spread over my entire torso.

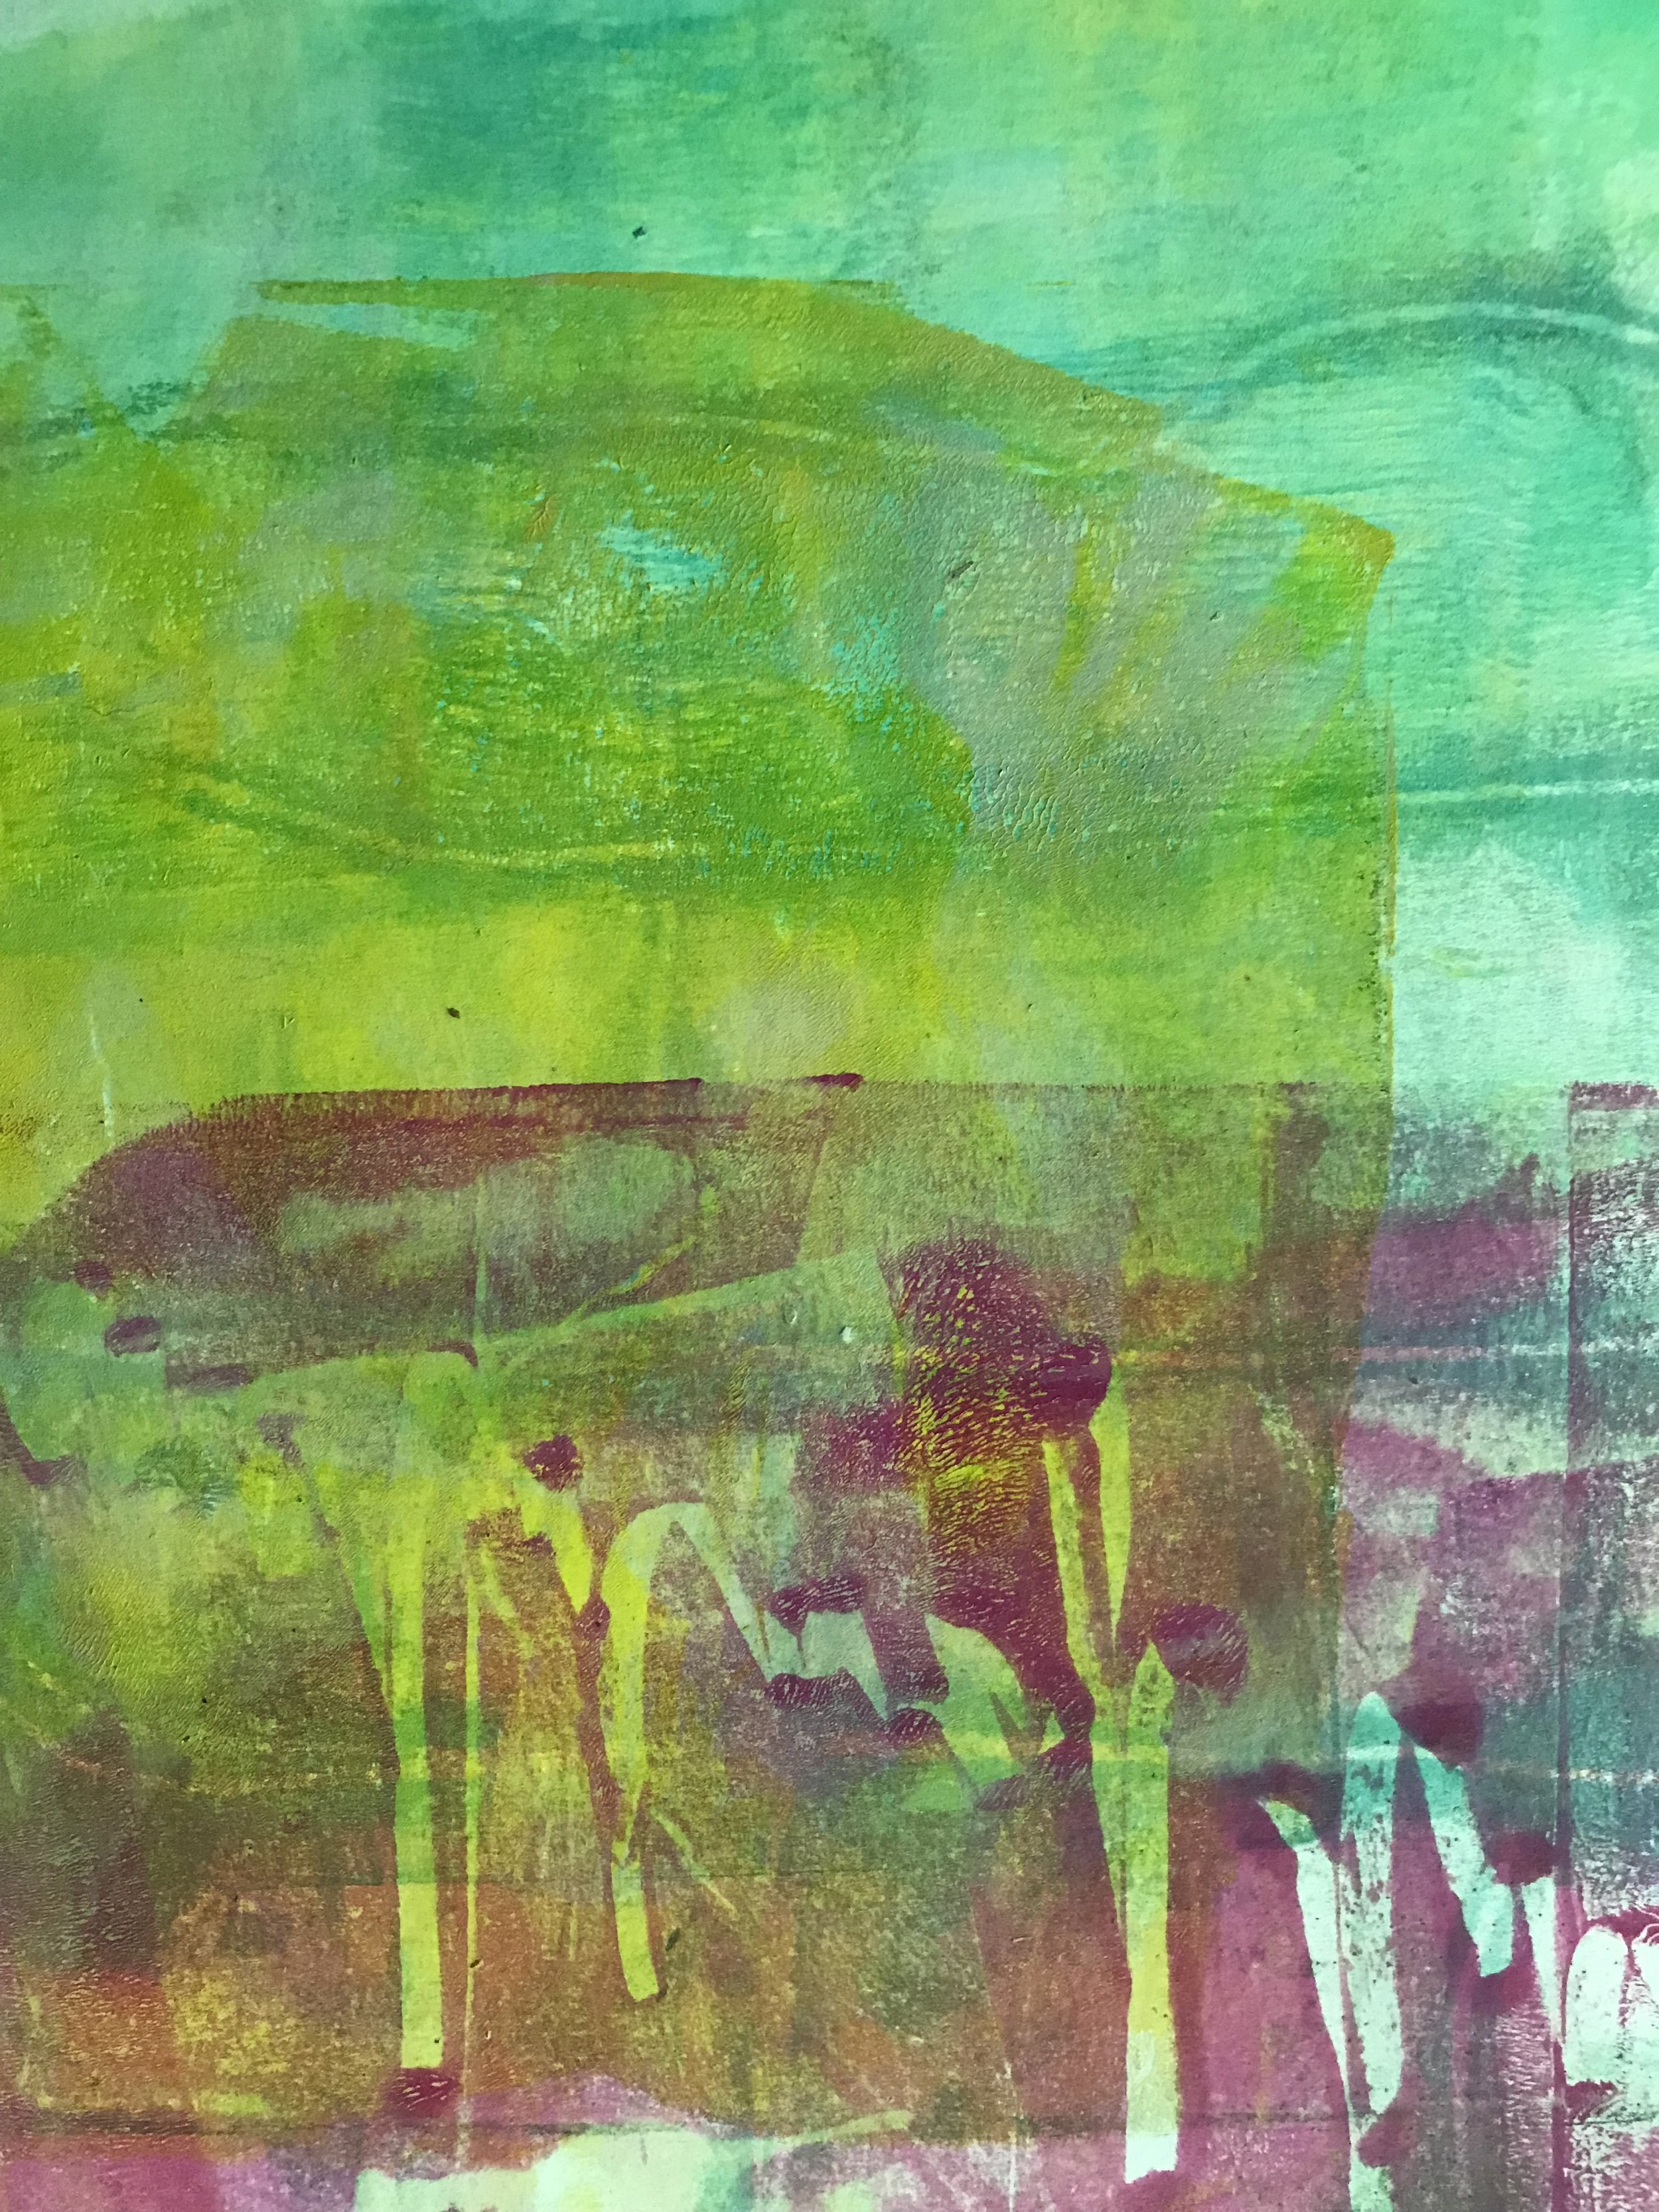
During the recovery process, I spent a weekend resting and took this time to play around with my plate. I made dozens of prints. Below are some of my faves…

gelli_exp_01
gelli_exp_02
gelli_exp_03
gelli_exp_04
gelli_exp_05
gelli_exp_06
gelli_exp_07
gelli_exp_08

It took a few days of rest but I did recover from both the allergies and the bites. I am looking forward to using these prints in a new body of collage work and covers for new mini booklets for my upcoming show in December.

gelli_plate_mini_books_06192019